Watercolor painting is one of the most accessible yet challenging art forms to master. Its transparent nature creates luminous effects that can't be achieved with other mediums, but this same quality also makes it less forgiving than acrylics or oils. For beginners, understanding a few fundamental techniques can make all the difference in your watercolor journey.
Understanding Your Materials
Before diving into techniques, it's important to familiarize yourself with quality materials:
- Paper: Use 100% cotton watercolor paper (140lb/300gsm weight or higher) for best results. Cheaper papers will buckle and absorb pigment unevenly.
- Brushes: Start with a round brush (size 8-10) for general work, a smaller round (size 2-4) for details, and a flat brush (1/2" or 3/4") for washes.
- Paint: Artist-grade watercolors have higher pigment concentration and better lightfastness than student-grade. Begin with primary colors plus burnt sienna and ultramarine blue.
Essential Watercolor Techniques
1. Wet-on-Wet Technique
This fundamental technique involves applying wet paint to wet paper, creating soft, diffused effects perfect for skies, water, and atmospheric backgrounds.
How to do it: Wet your paper evenly with clean water using a flat brush. While the paper is still glistening (but not pooling with water), load your brush with pigment and touch it to the paper. Watch as the color spreads and blooms across the wet surface. Add additional colors while the paper remains damp to create beautiful blends.
The key to successful wet-on-wet painting is timing - too wet and colors will completely blend and lose definition; too dry and you'll create hard edges.

2. Wet-on-Dry Technique
This technique gives you more control and creates crisp, defined edges. It's essential for outlines, details, and areas requiring precision.
How to do it: Apply wet paint to completely dry paper. The paint will stay exactly where you place it, allowing for precise lines and shapes. This technique is perfect for adding details after your initial washes have dried.
3. Dry Brush Technique
Dry brush creates texture and is excellent for depicting rough surfaces like tree bark, rocks, or weathered wood.
How to do it: Use a relatively dry brush (damp but not dripping) loaded with pigment. Lightly drag the brush across dry paper, allowing the paint to catch only on the raised texture of the paper. This creates a broken, textured effect.
4. Glazing
Glazing involves layering transparent washes of color, allowing each layer to dry completely before adding the next. This builds depth and luminosity in your painting.
How to do it: Apply a light, even wash of color and let it dry completely. Then apply subsequent layers, gradually building up color intensity. Remember that each layer will interact with and modify the colors beneath it.

5. Salt Technique
This fun experimental technique creates interesting textures perfect for starry skies, snow, or textured landscapes.
How to do it: Apply a wash of color, and while it's still wet, sprinkle table salt onto the surface. As the paint dries, the salt absorbs moisture and pigment, creating a crystalline effect. Once completely dry, brush the salt away.
Common Beginner Challenges
Controlling Water
Watercolor is all about managing the water-to-pigment ratio. Too much water creates pale, uneven washes; too little results in dull, lifeless areas. Practice loading your brush properly - it should be full but not dripping.
Planning for White Space
Unlike other mediums, in watercolor, the white of the paper provides your highlights. Plan to preserve these areas in advance, as adding white paint later doesn't achieve the same luminosity.
Patience Between Layers
Allow each layer to dry completely before adding the next to prevent unwanted bleeding and muddiness. Use a hair dryer on a cool setting to speed up drying if you're eager to continue.
Simple Exercises for Beginners
Value Scale
Create a gradient from dark to light using a single color. This teaches you to control pigment concentration and water ratio.
Color Mixing Chart
Create a grid mixing your basic colors to understand how they interact. Watercolors blend differently than other mediums, and this exercise will help you predict results.
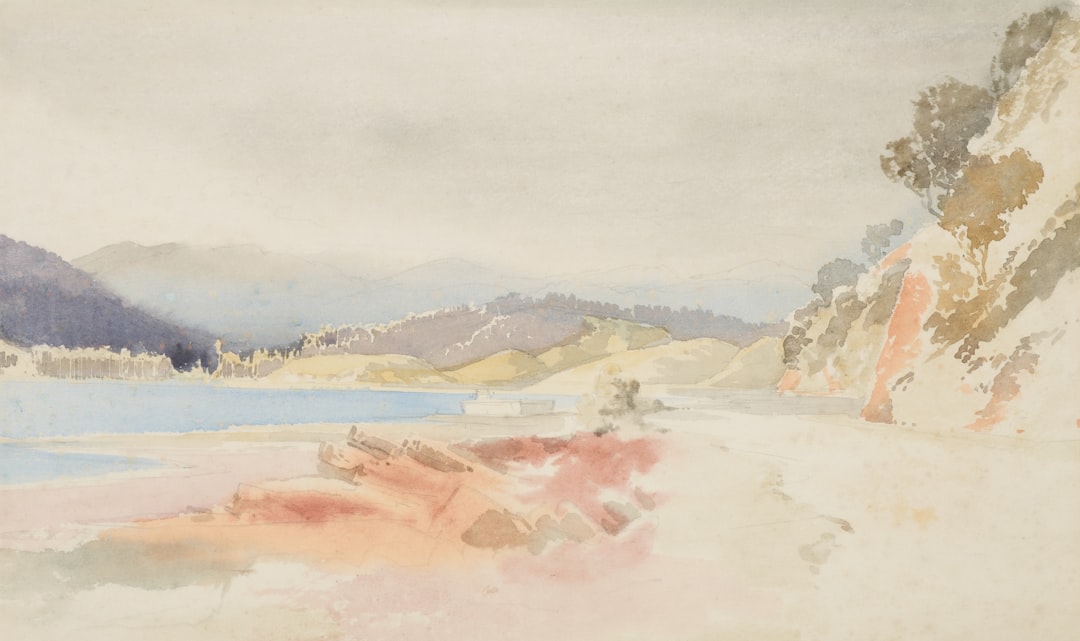
Simple Landscape
Practice a basic landscape with a sky (wet-on-wet), distant mountains (wet-on-dry with glazing), and foreground details (dry brush). This combines multiple techniques in one composition.
Conclusion
Watercolor painting is as much about embracing happy accidents as it is about technique. The unpredictable nature of water and pigment interaction creates unique effects that can't be precisely replicated, making each painting one of a kind.
Be patient with yourself as you learn. Keep a journal of your experiments, noting which techniques worked well for different effects. With practice and persistence, you'll develop an intuitive understanding of how to make watercolors work for your artistic vision.
Remember, the joy of watercolor lies in its luminous transparency and flowing nature. Embrace these qualities rather than fighting against them, and you'll create paintings that capture the special magic that only watercolors can provide.